Hi,
I am slowly moving to substack. So, my future and latest articles can be found in my substack blog which is
https://vinayvutukur.substack.com/
Hope to see you there.
Thanks VV!!
Hi,
I am slowly moving to substack. So, my future and latest articles can be found in my substack blog which is
https://vinayvutukur.substack.com/
Hope to see you there.
Thanks VV!!
In order to perform automation of database tasks like index maintenance, statistics update and so on in Azure SQL database one way is to use Azure Automation runbook using powershell script.
To automate azure sql database tasks we need to perform below steps :
Create Azure Automation Account
Import Modules
Create Runbooks
Schedule Runbooks
Firstly we need to create an Azure Automation Account and in this article we will see how to create it. In upcoming articles we will discuss how to perform other steps.
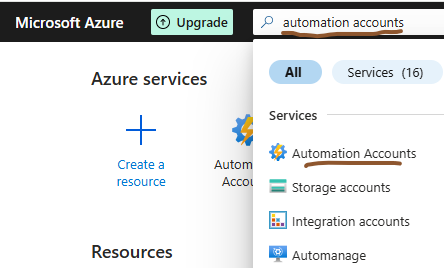
To create automation account, in azure portal search for automation accounts and select “ Automation Accounts ”
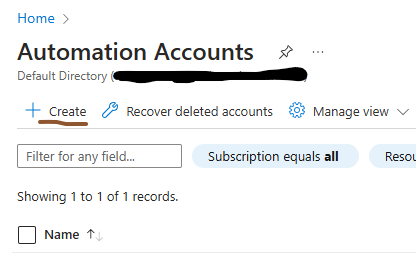
Now click “ Create ” in the Automation Accounts page
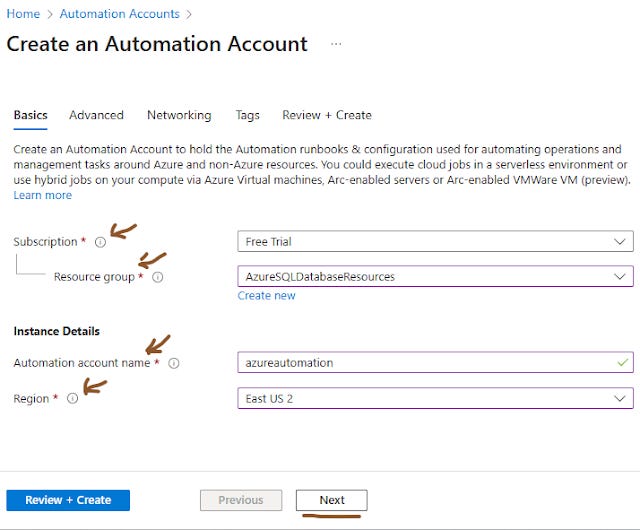
It will take to the “ Basics ” tab of automation account creation page. Here, enter all the required details like
Subscription
Resource Group
Automation Account name
Region
Note: If you are using Free or student subscription some region doesn’t support automation account creation. So, please select the region based on your subscription type.
I am giving below details
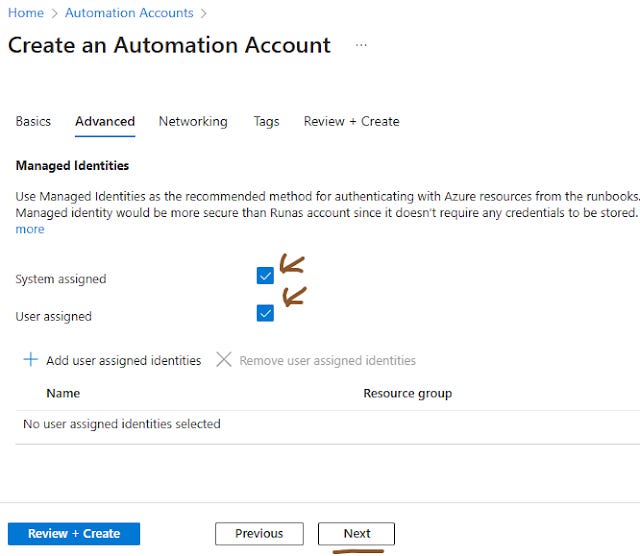
In the “ Advanced ” tab check both
System assigned
User assigned
No need to add any user assigned identities as of now
And click “ Next ”
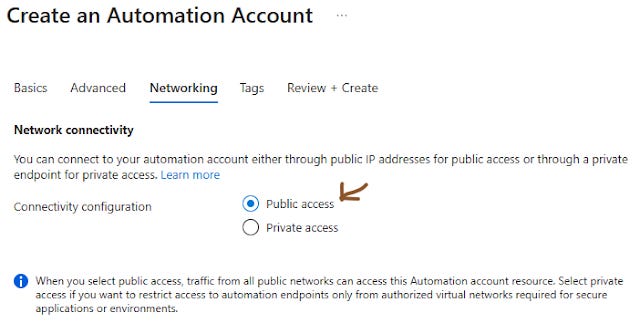
In “ Networking ” tab check the “ Public access ” and click “ Next ”
Leave the “ Tags ” tab empty and proceed to “ Review+Create ” tab. Here click “Create”
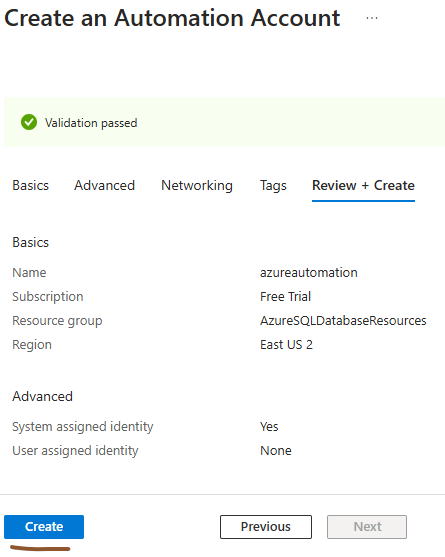
It will start creation of the automation account
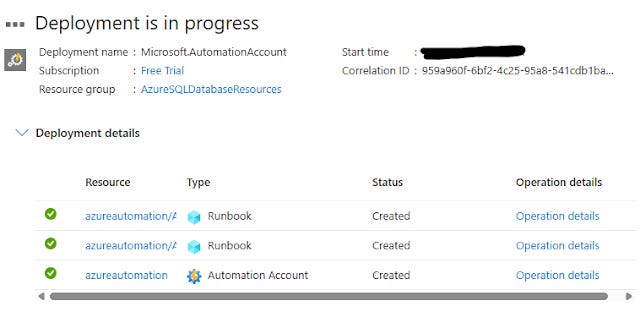
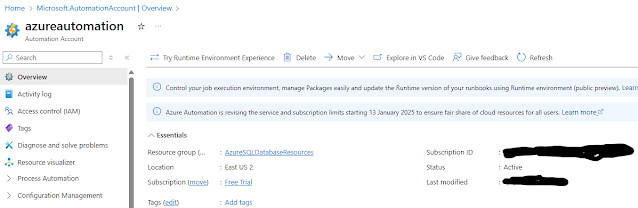
Once deployment is complete click on “ Go to resource ”
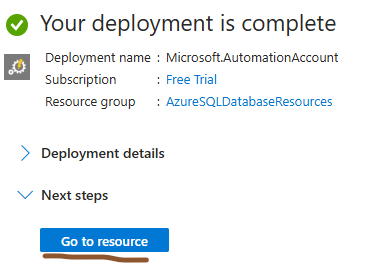
Now we can see an automation account named “ azureautomation ” is created with all the settings we set
In the next article we will see how to import required modules for azure sql database automation.
Thanks VV!!